Flower School


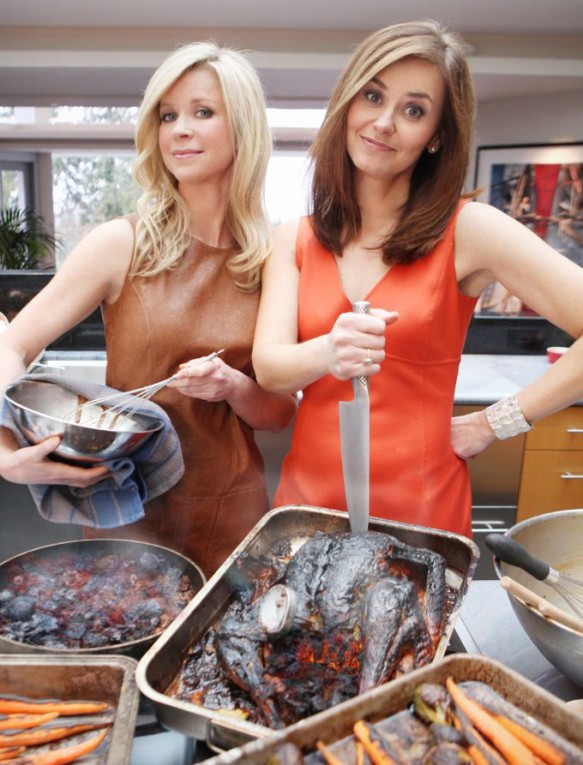
I have few talents. I can play myself on TV, string anywhere from 2 to 1000 words together and maybe have them make sense and I can ski. (Skill or talent? Potato, pot-at-toe.) One thing I absolutely cannot do is arrange flowers. My soufflés are better than my bouquets. Basically, they both suck.
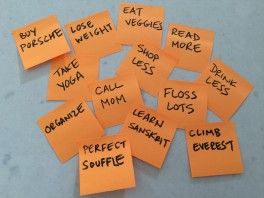
When I was composing my list of New Year’s resolutions for 2015, taking a flower- arranging course ranked right up there with losing 5 pounds – i.e. excellent idea, highly unlikely to happen.
Then I received an email from The Cross, one of my favourite stores in Vancouver. They were holding a two-hour flower-arranging course one evening.
Coincidence? Fate? The cosmic muffin telling me to practice what I blog?
I asked my mom if she wanted to join me and off we went to flower school.

Celsia provided the instruction and blooms, The Cross the setting and refreshments. (I highly recommend drinking champagne while trying to learn. If things don’t go well, you can always blame the champagne.)
The next two hours weren’t pretty. I literally broke into a sweat (no creative hyperbole) when I looked around me and saw all the other beautiful bouquets taking shape, including my mother’s. At least I got height, if not the green thumbs.

My mom’s gorgeous bouquet
At one point, I pulled everything out and started again. I’m still no pro, but I did walk away with some excellent tips:
- The vase should be about half the height of your flowers.
- If your vase opening is too wide, either put some chicken wire inside to keep the flowers from splaying. If you don’t have chicken wire or your vase is clear, use clear tape create a grid at the top. This can give your arrangement support.
- Remove any leaves from the lower stem that will end up in the water. This will help prevent bacteria from developing.
- Trim your stems at a sharp angle. If you cut too much off, which I always seem to be doing, add pebbles or marbles to the vase.
- Use one element or type of flower at a time, starting with the greenery. The greens can help you determine the width and the height. (I listened but the greens were telling me little.)
- Envision a clock, with one part of the arrangement dipping towards the 10 o’clock position (the taller flower/stem) and the other, the 4 o’clock position to create a valley type, naturalistic shape.
- Next move to the focus or mass flowers. They’re usually the biggest ones and are often full and round.
 The heavier the bloom, the lower in the arrangement it should go. Like the peonies above. Makes sense, as these will likely droop first.
- Avoid being matchy matchy and overly symmetrical. Instead, put like flowers and colours close together. After all, this is how they appear in nature.
- After the greenery and blooms are in, add fill. And then, add more fill. You will need more than you think for a lush display.

With much help from multiple instructors, I can hardly claim to have created this on my own. But eventually, I left with this beauty. And the best part? The fragrance. Heavenly!